

For iPhones devices that are eSIM-enabled (XR or newer models). Make sure your phone is connected to the internet (e.g. on Wi-Fi) then:

1. Open the camera app, Scan the eSIM QR code, and Tap “Cellular Plan.” If your camera app didn’t detect the eSIM QR code, make sure "Scan QR Codes" is "On" in “Settings → Camera.

2. Tap “Continue.” It may take up to 20 seconds to proceed.

3. Tap “Add Cellular Plan.”
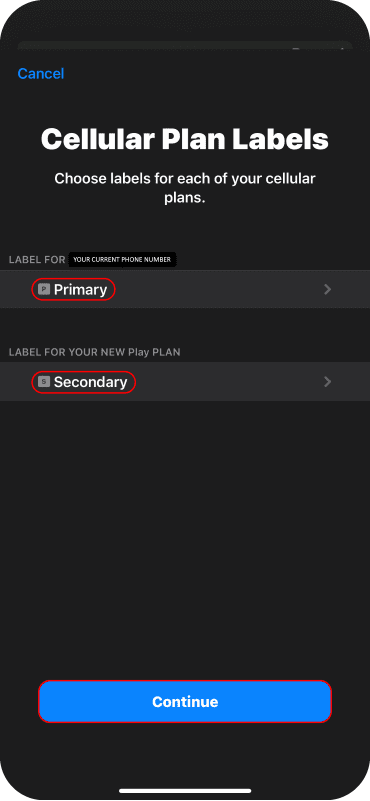
4. By default, your current SIM is labeled as “Primary” and your new eSIM as “Secondary.” If you wish to change the label of your eSIM, you may tap on “Secondary” and change it to your liking, then tap on “Done” on the top left afterwards. Tap “Continue” to proceed.

5. Select “Primary” as Default Line for Voice and SMS, then tap “Continue.”

6. Tap “Continue.”

7. Select “Secondary” for Cellular Data. Tap “Continue.”

8. After your eSIM setup is complete, make sure that your eSIM “Data Roaming” is turned ON by going to “Settings → Cellular → Secondary” then activate Data Roaming.

9. Now your eSIM setup is complete!